upleafting plants

The wonders of hydrogen peroxide

In this post I’d like to talk about something that many seem scared or skeptical to include in their plant care routine – hydrogen peroxide. 

If you like this content and would like to support me, please follow me on Instagram for more plant photos and discussions!

Spraying (diluted) hydrogen peroxide on your plants is super beneficial and can remove several nasty things from your poor fragile plants. It can also be great for roots and many other things. Let’s dig into it shall we? 

Hydrogen peroxide in Portuguese is Água oxigenada. So if you’re in Brazil like I am, that’s what you need to get from your local pharmacy! Be sure it’s 10 volumes / 3% and nothing else.

Hydrogen peroxide in Portuguese is Água oxigenada. So if you’re in Brazil like I am, that’s what you need to get from your local pharmacy! Be sure it’s 10 volumes / 3% and nothing else.

Hydrogen peroxide sounds like something chemical and dangerous to many. But in fact it’s basically just water, with extra oxygen. And if diluted correctly, it’s uses are endless! Now, be sure to buy the right type of hydrogen peroxide (because there are a couple of different ones). You need the 3% one for most plant related things, so go for that one.

Here’s a quick breakdown of some benefits of using hydrogen peroxide, and what it can do for you:

  • Kill fungi, powdery mildew and mold. The hydrogen peroxide simply burns that stuff off the plant, while keeping the plant in mint condition! This works on both the plant and the soil. Spray where needed, or just all over.

  • Get rid of spider mites, thrips, slugs, the larvae of fungus gnats and other common nasty pests that eat your plant.

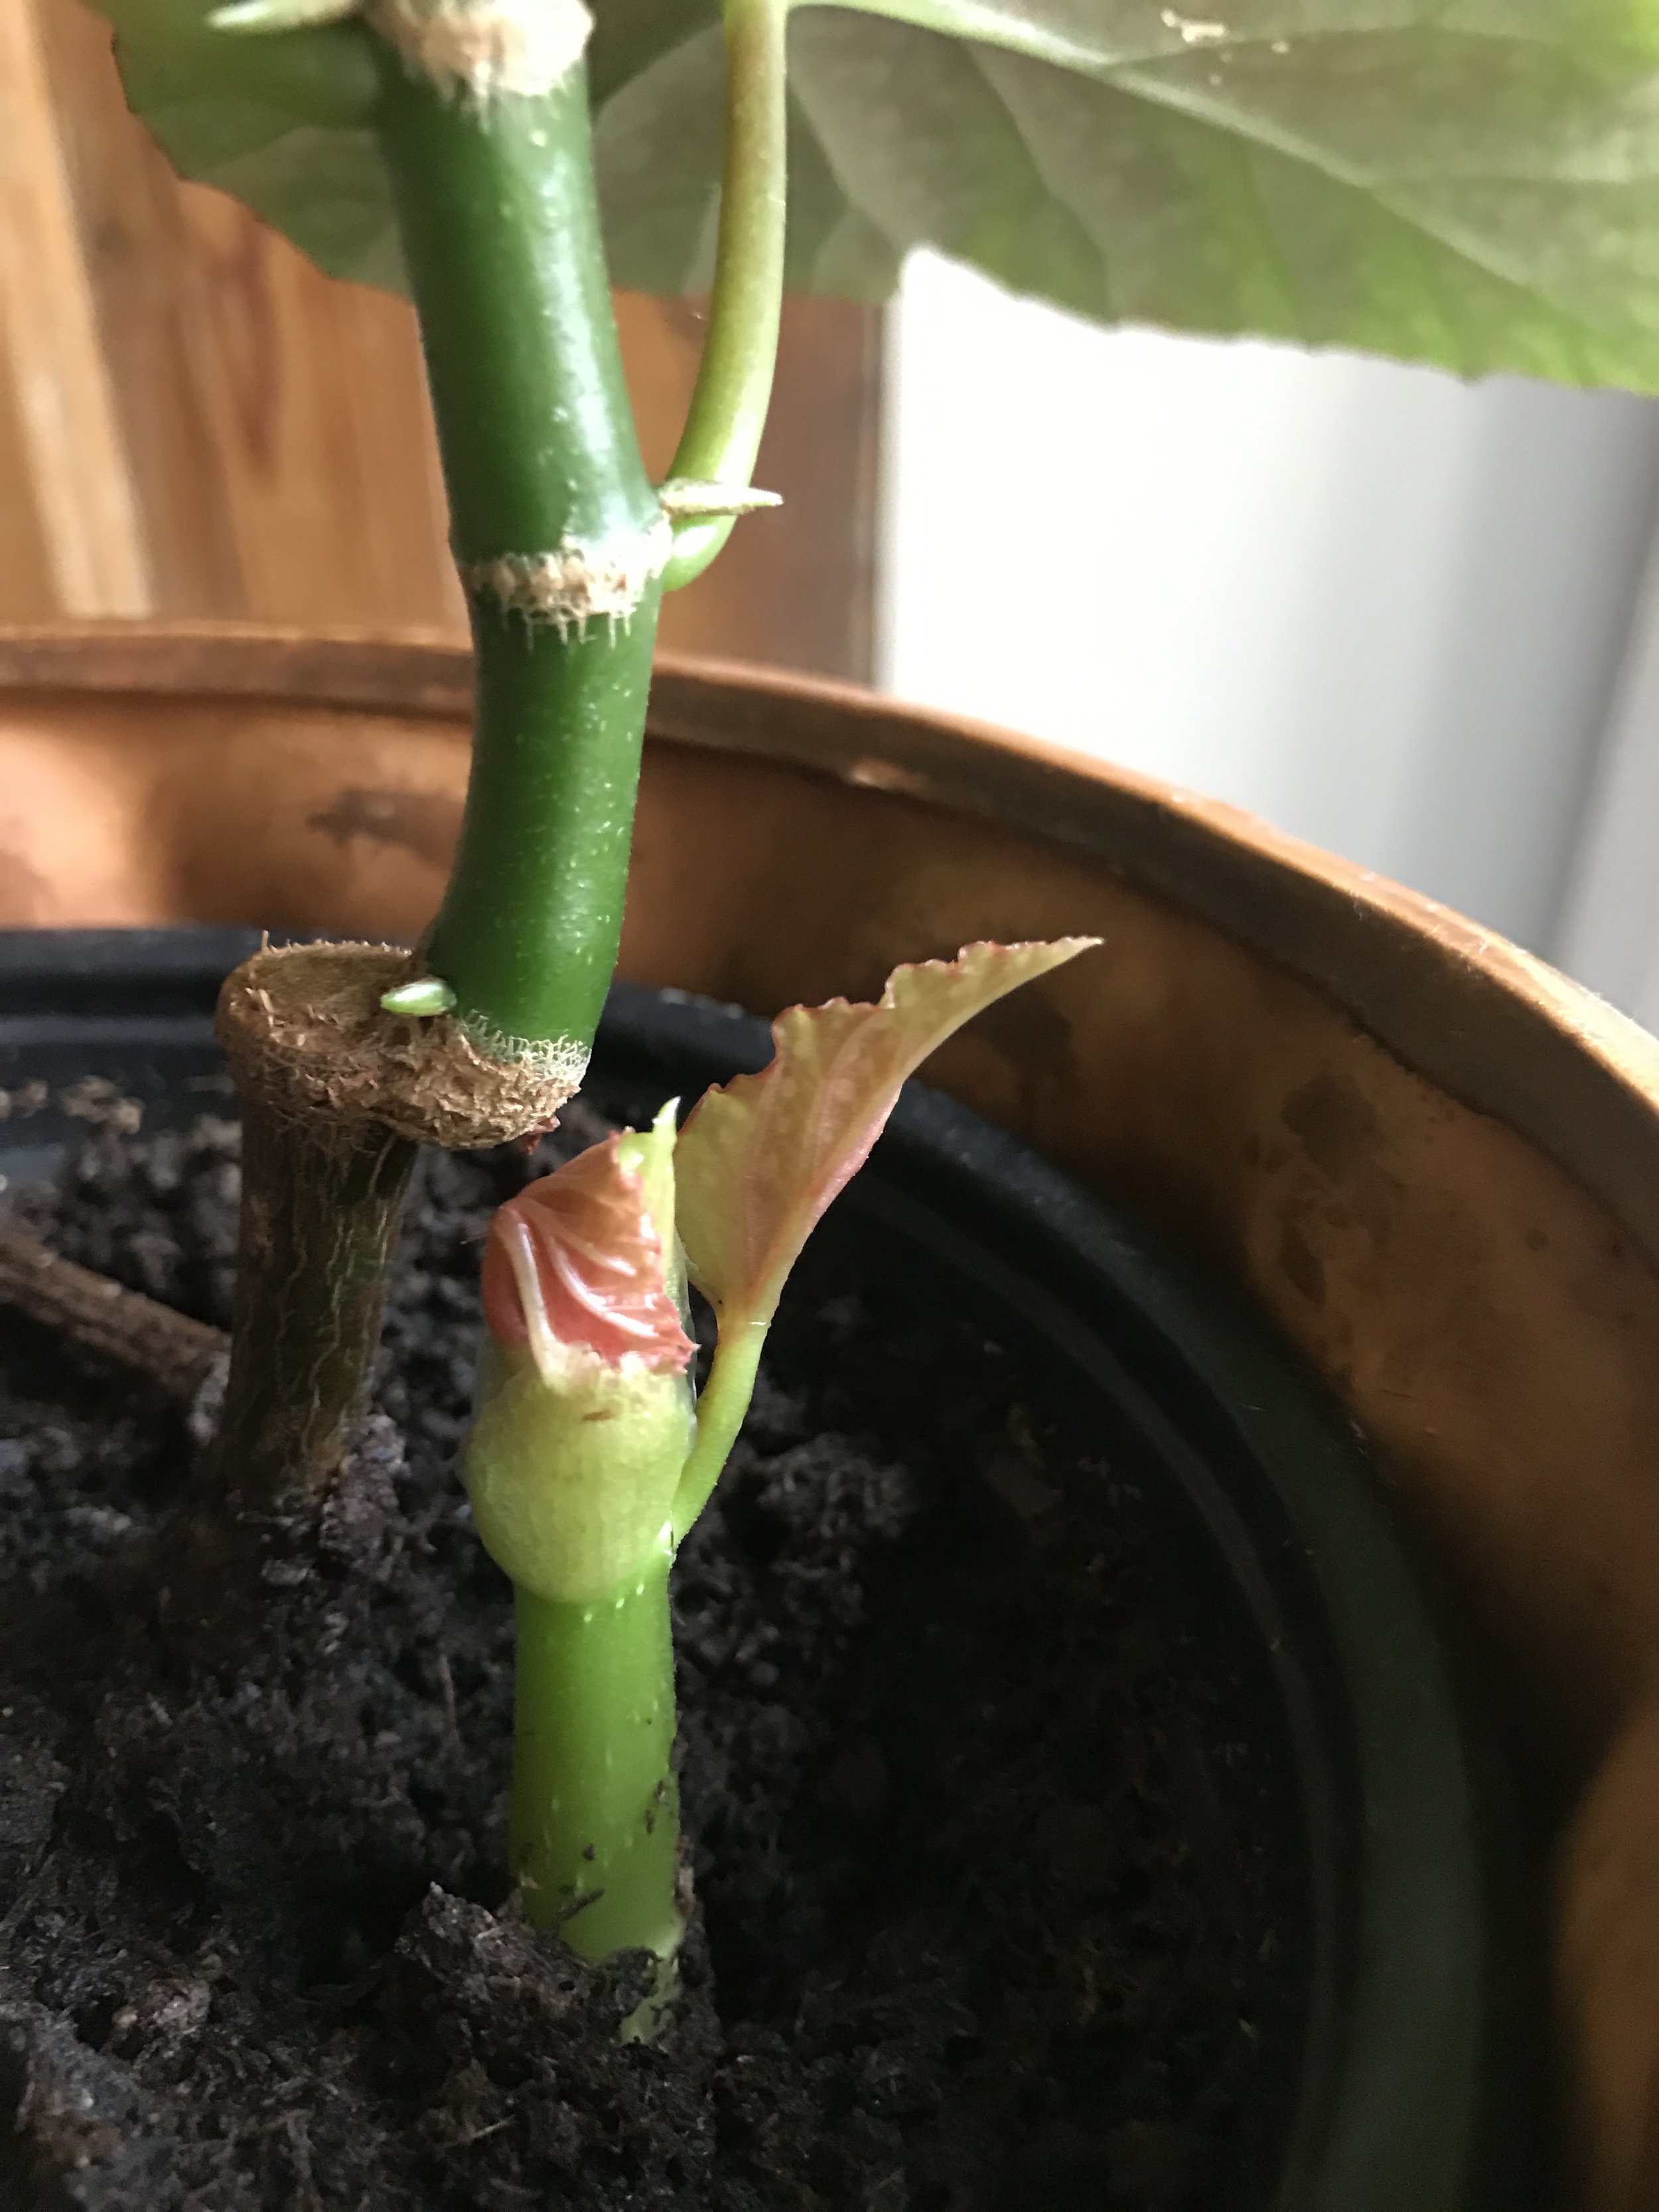
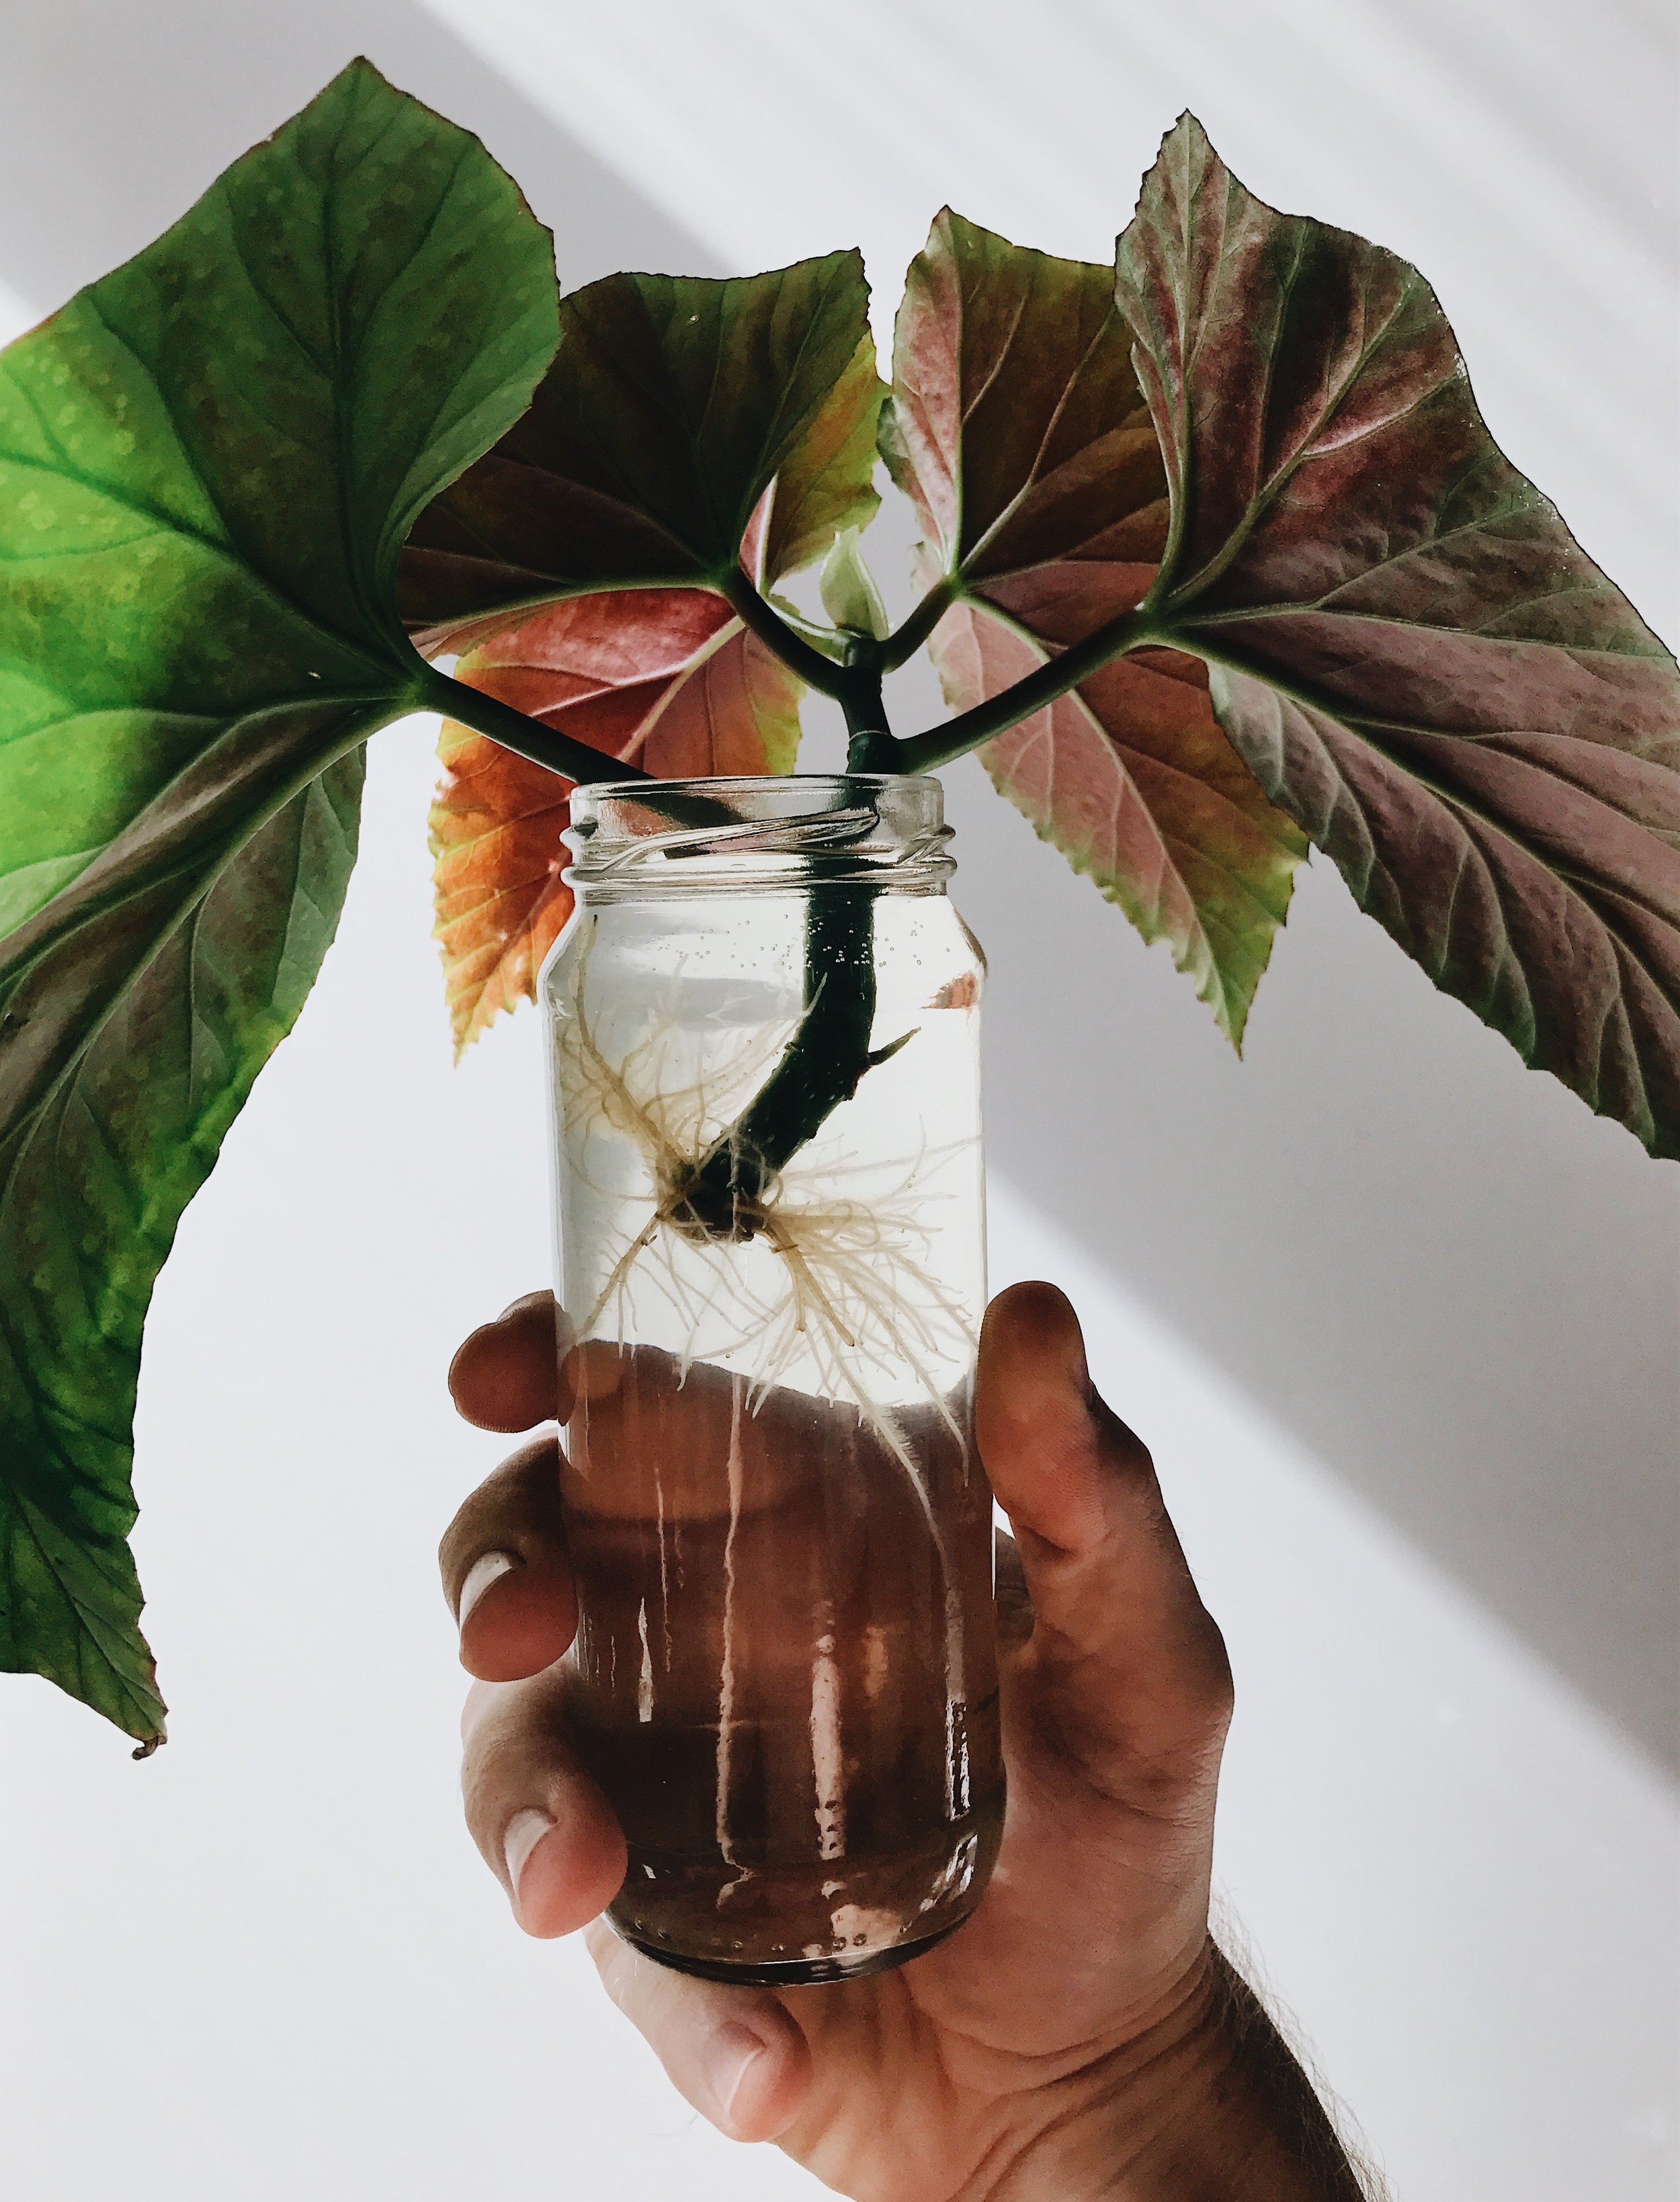
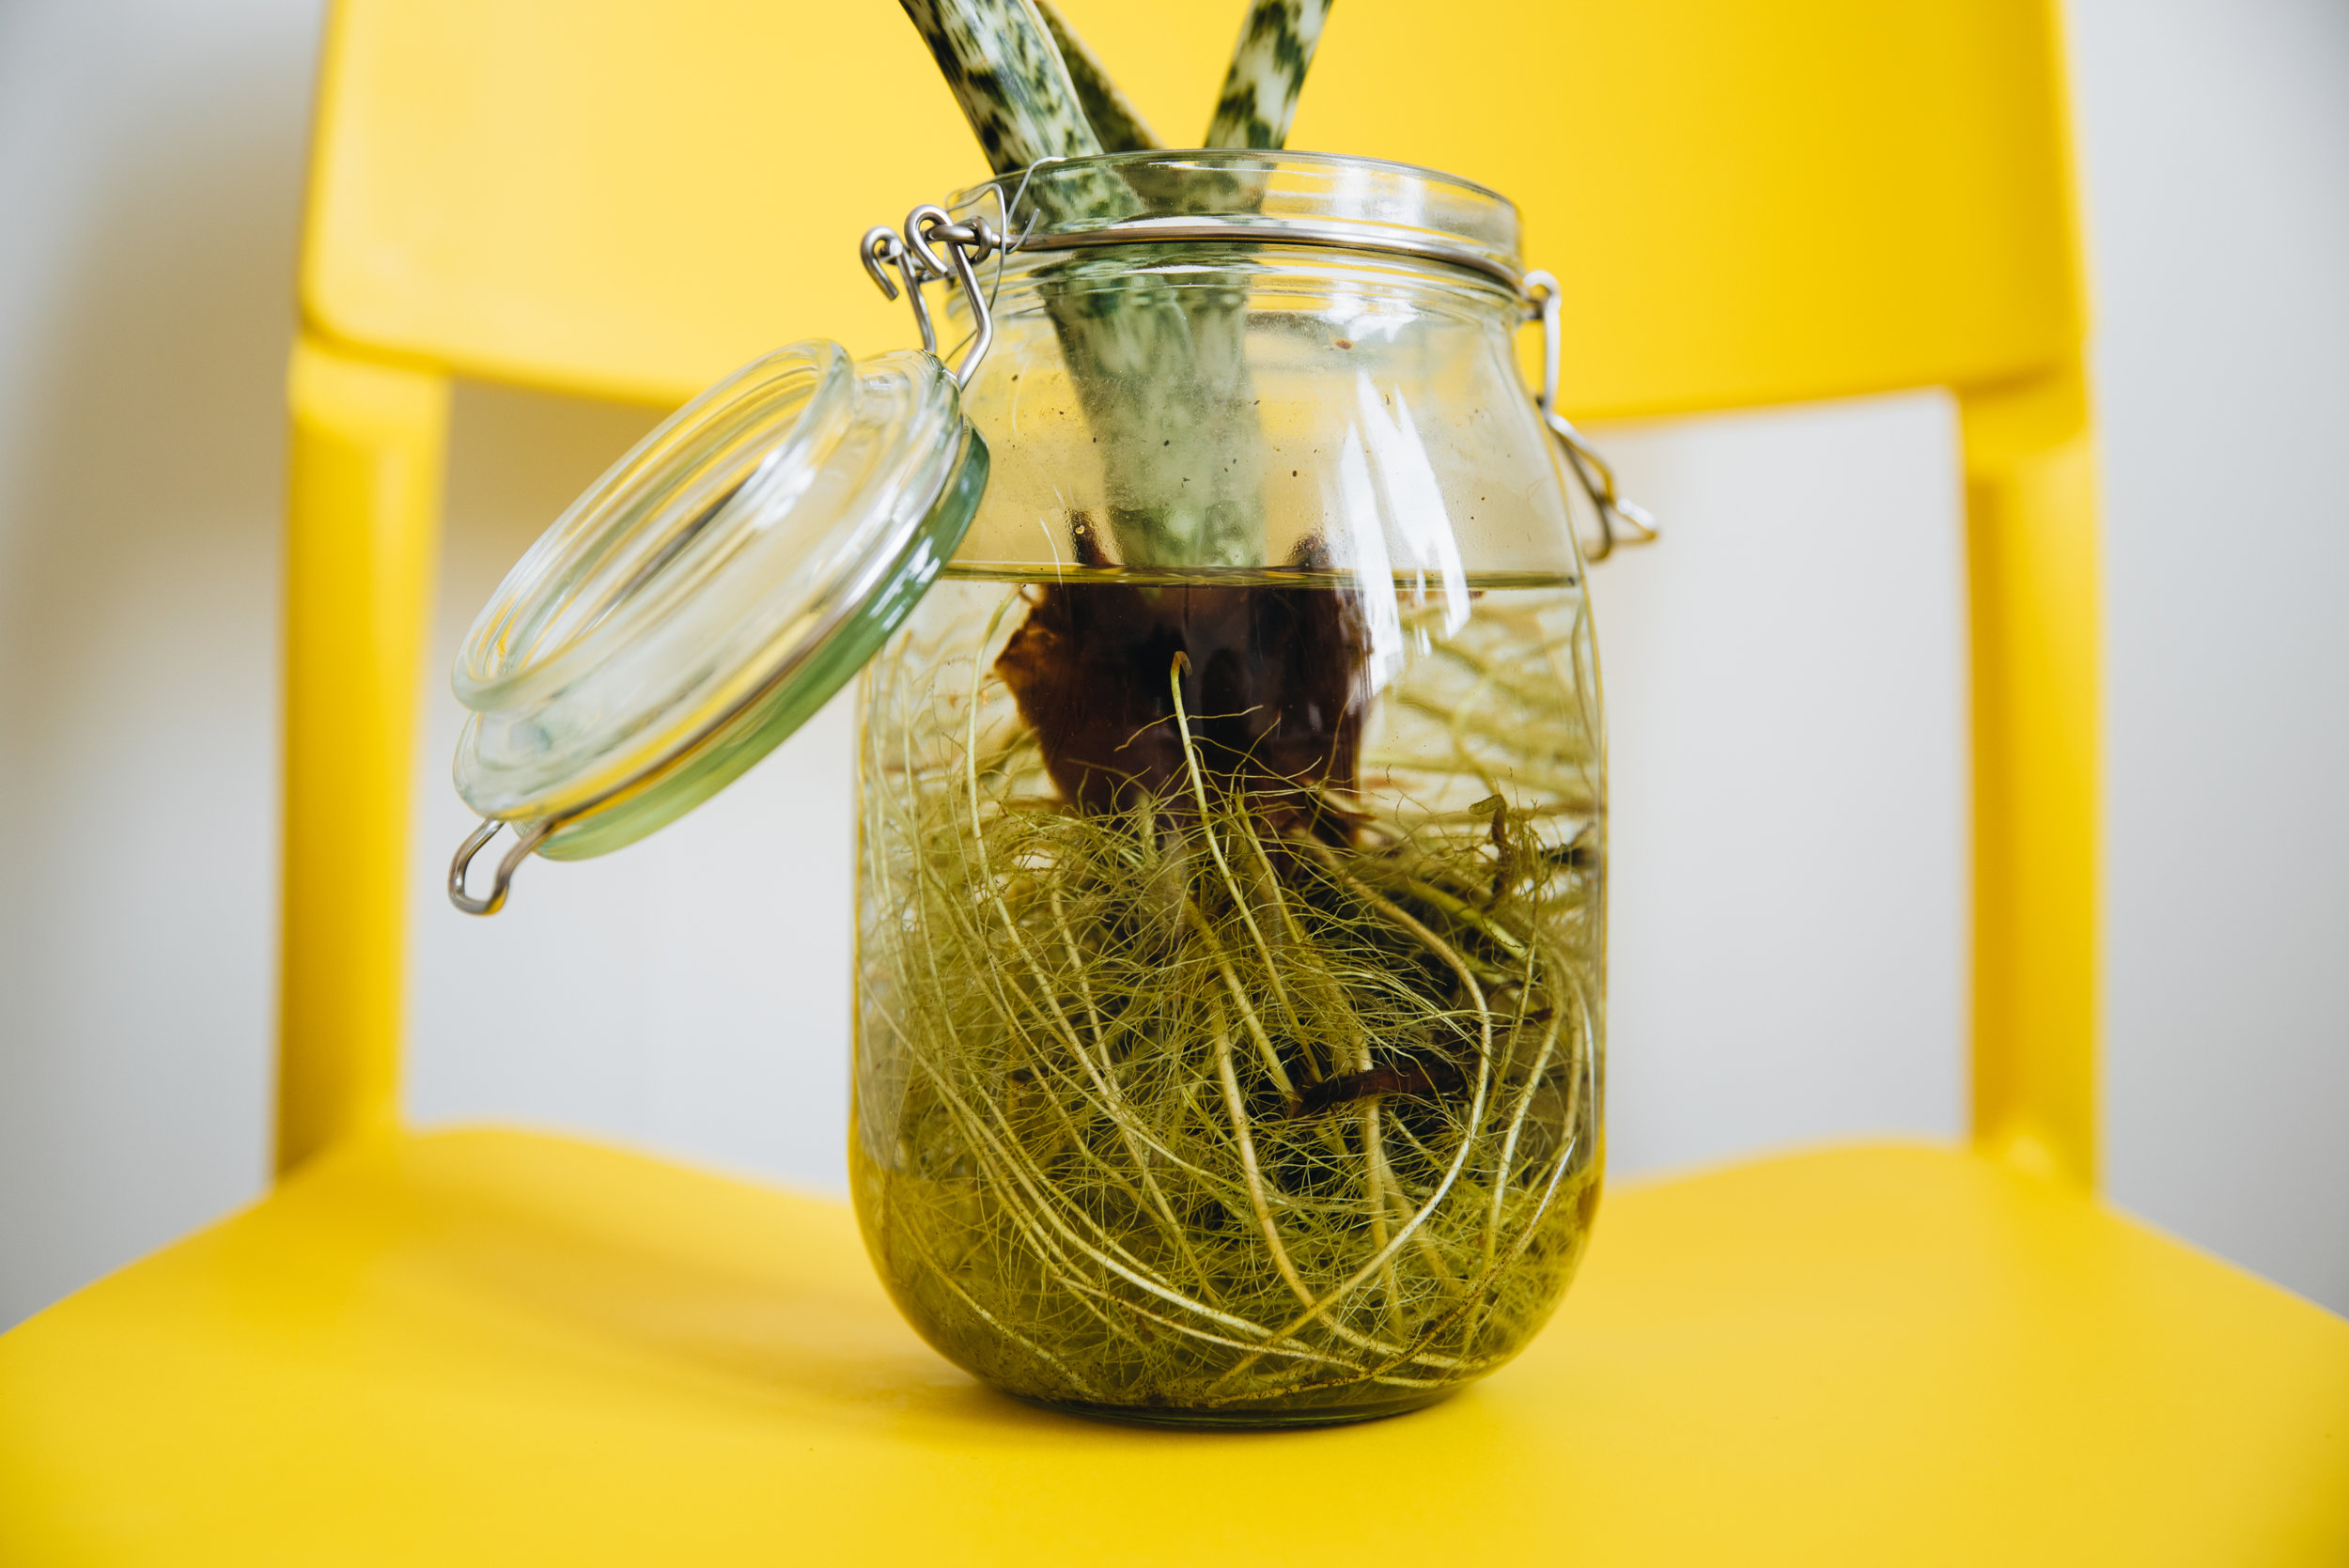
  • Restores oxygen levels in the soil, keeping roots healthy and happy. This improves root health and your plants will grow new roots faster. Especially great for those plants that have few and slow-growing roots.

  • Disinfect gardening tools!

  • Treat root rot. If you’re having a bad case of rotting roots, you need to water your plant with this solution, and then let it dry out almost completely before watering it again. This delivers much needed oxygen to the suffocating roots.

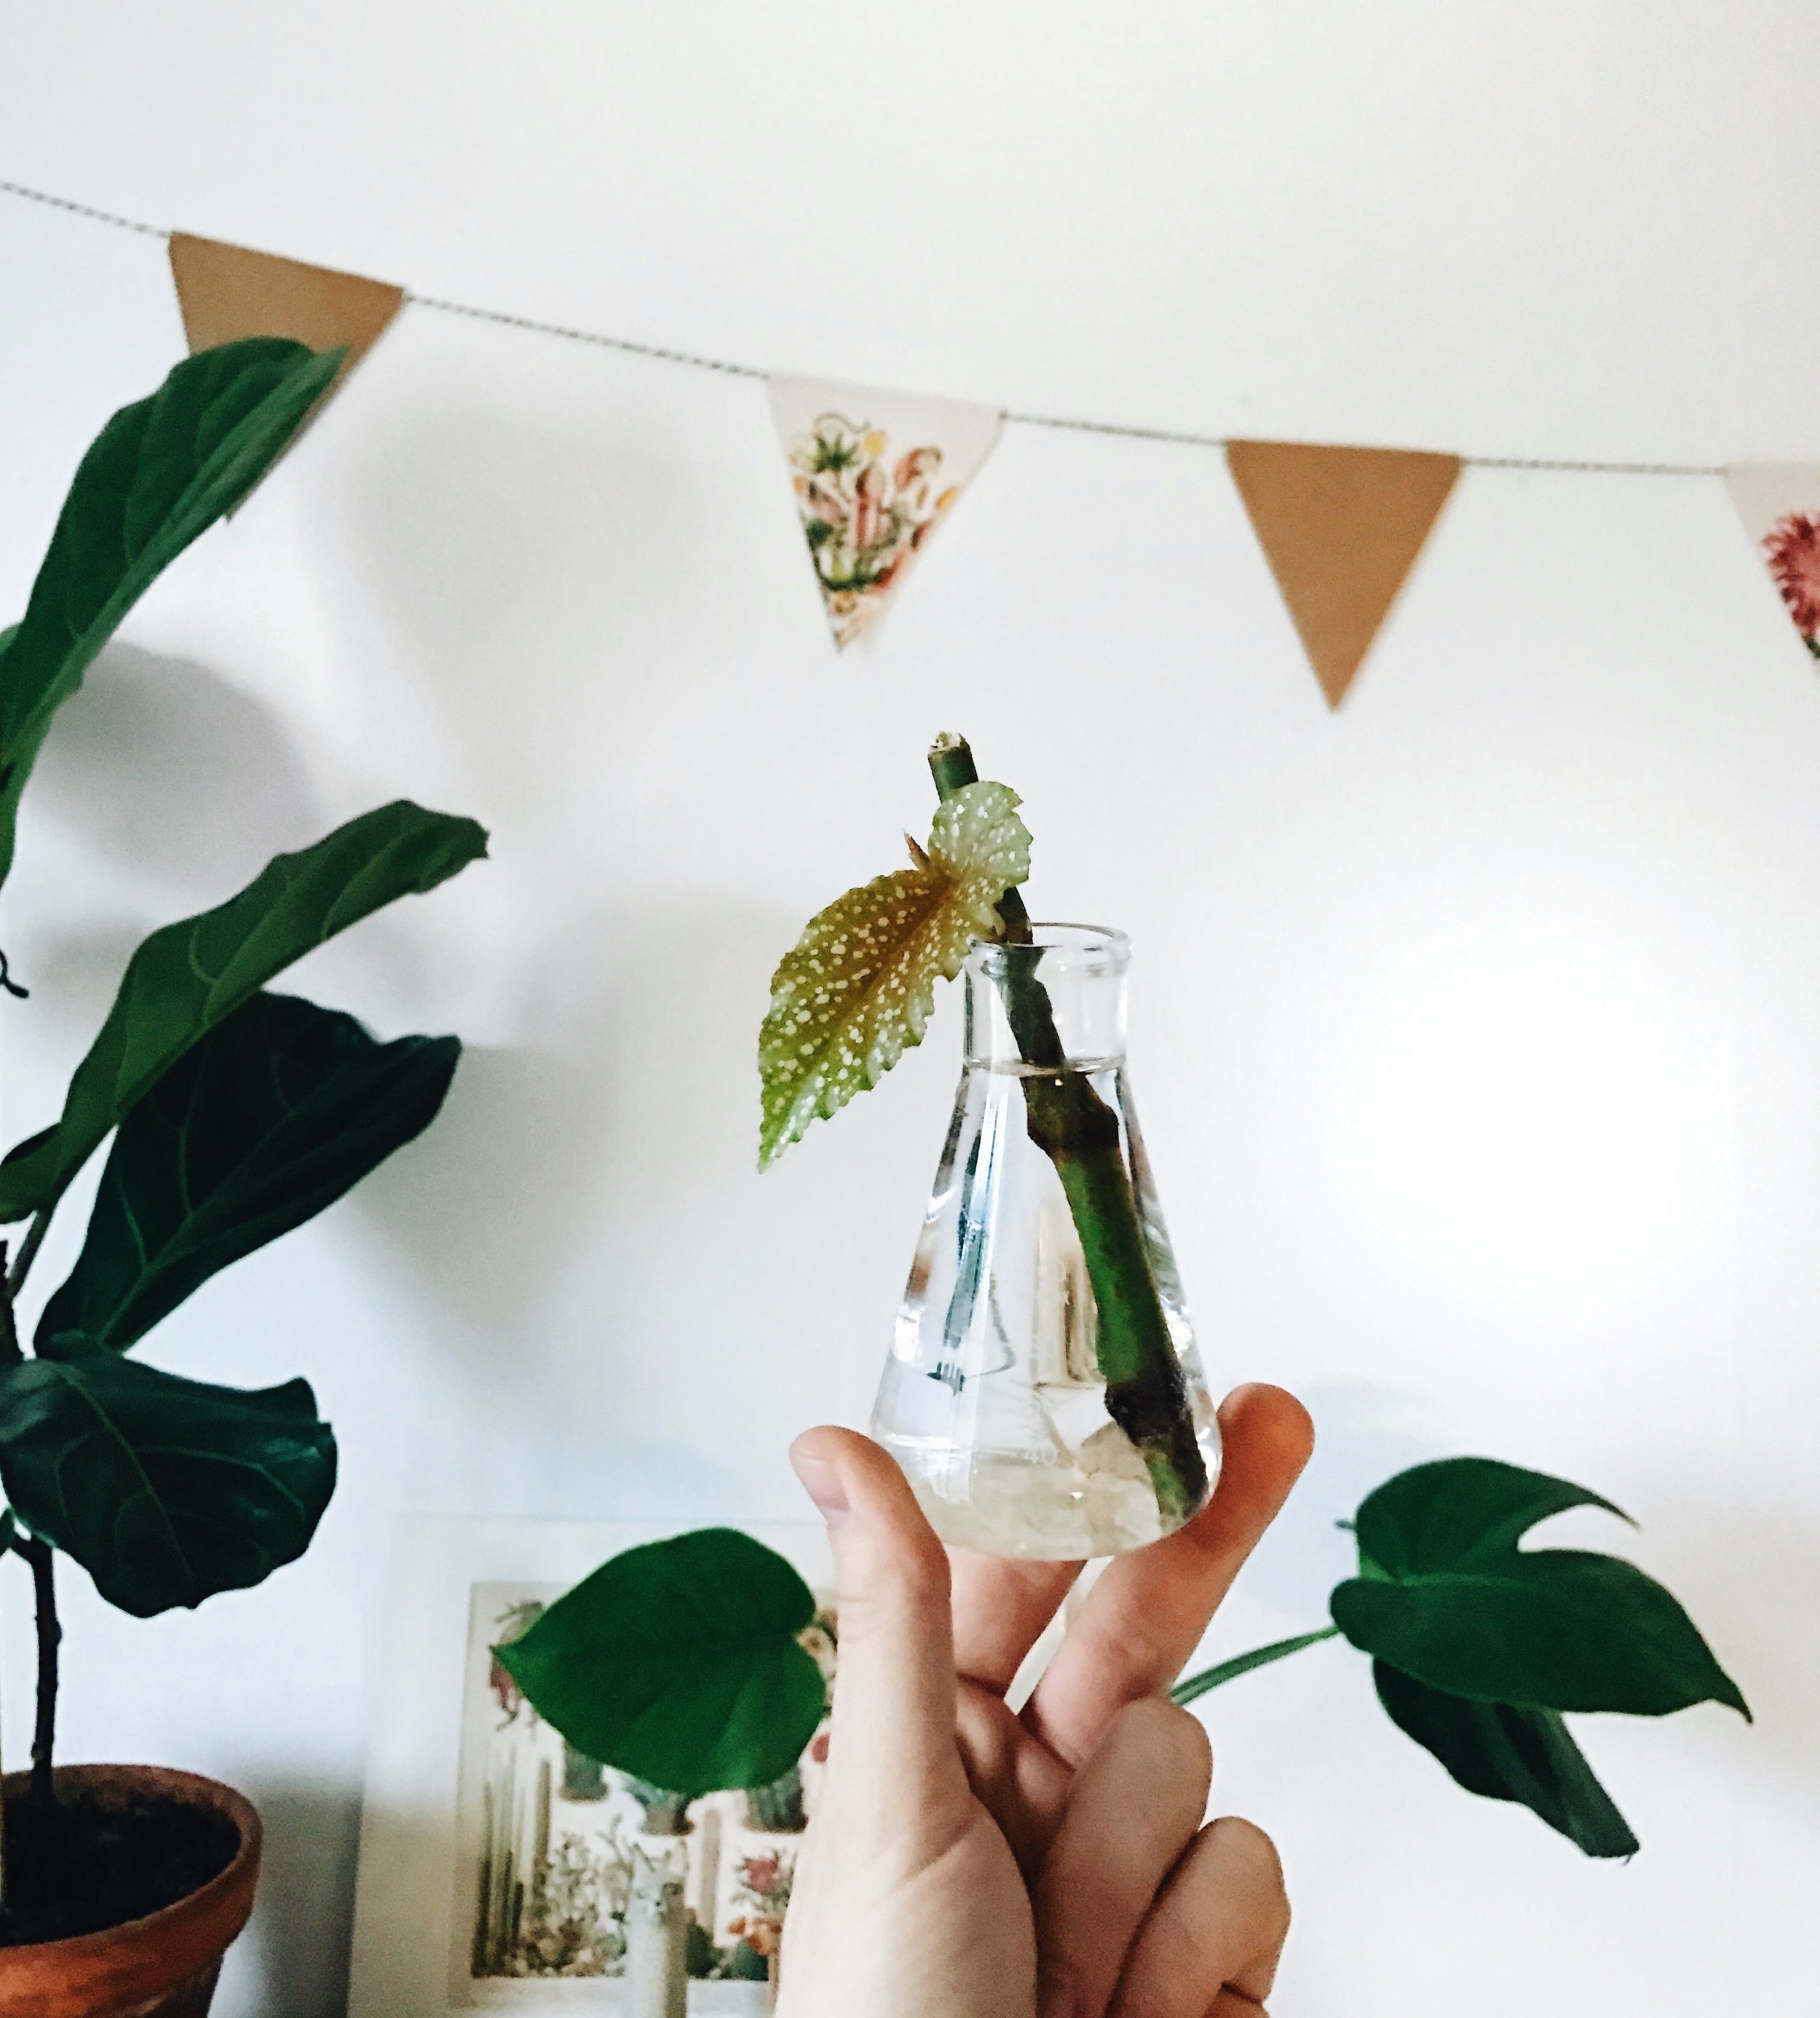
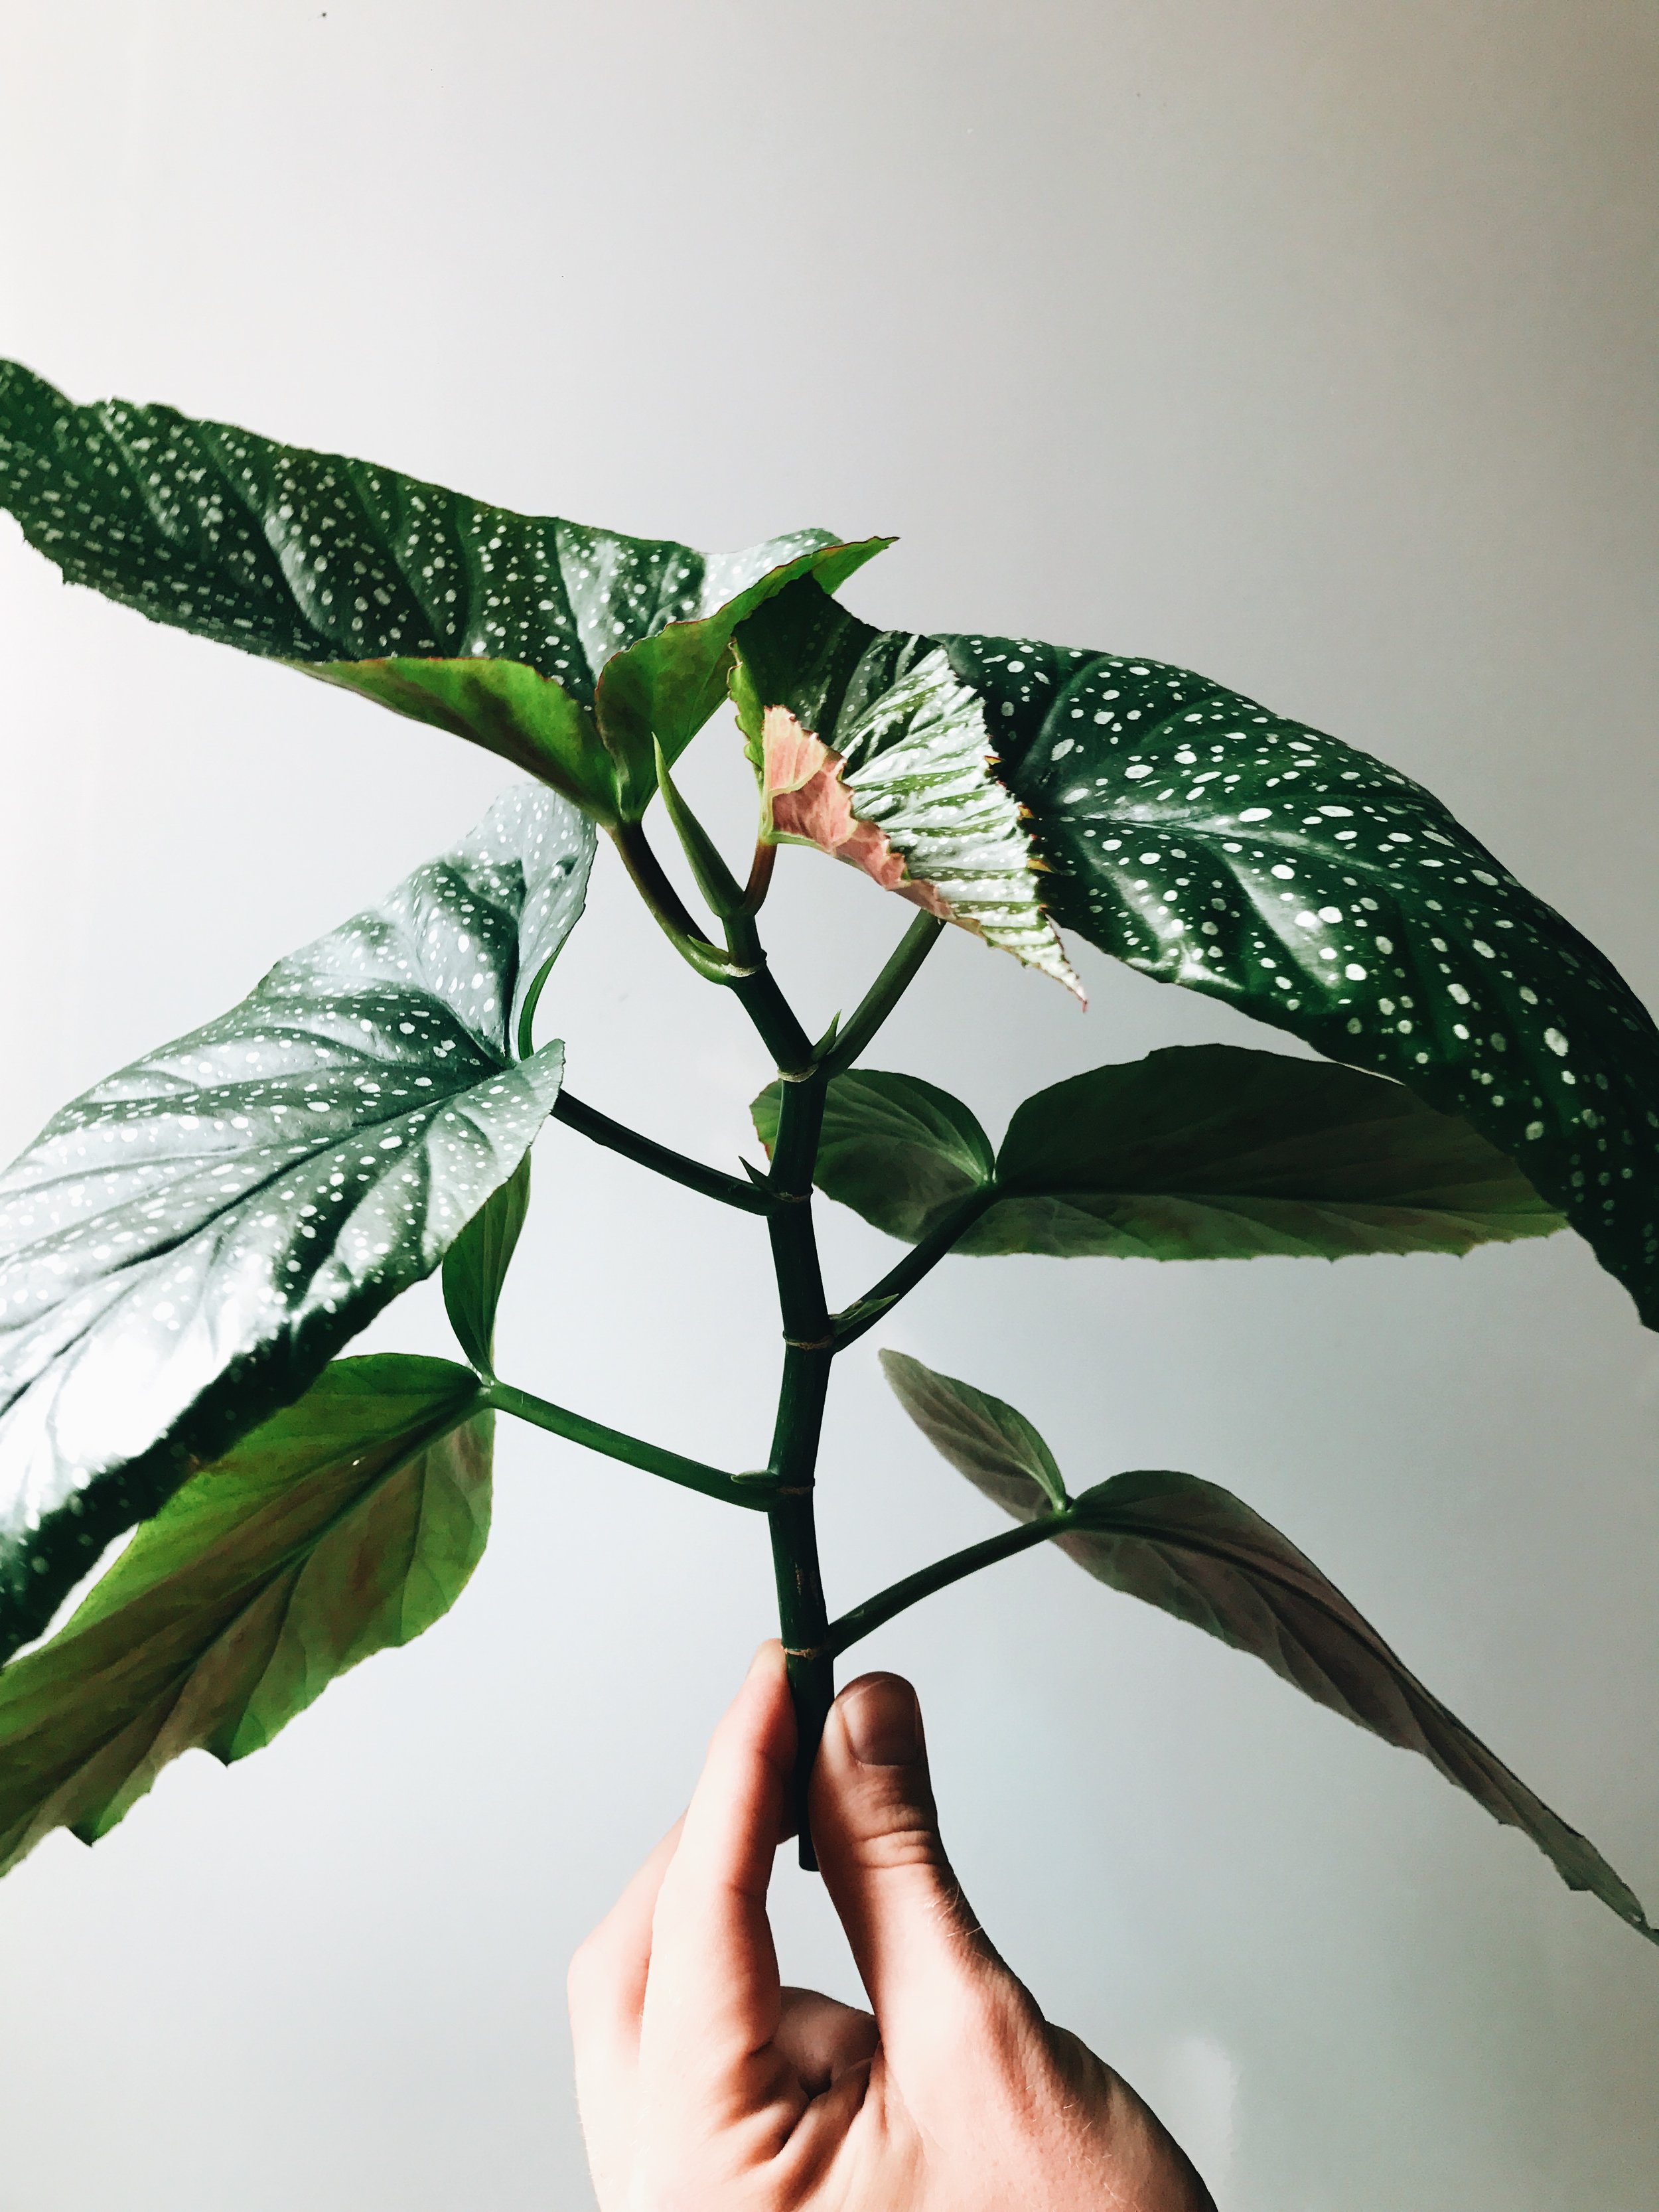
  • Works very well for new cuttings.

  • It’s non-toxic and better for the environment than any chemical spray out there.

If you’re getting rid of pests on the plant itself, make sure you spray both sides of the leaves, as many nasty things can hide on the back/underside of your plant. If you’re spraying or watering the soil for fungus, eggs or larvae, be certain you really soak the soil. 

If you have any of these problems, you can use hydrogen peroxide on your plants once a week. If you’re having problems with pests, adding neem oil to your care routine might be helpful in delivering the killing blow. When you have no problems, you can still use it, but try to keep it to once or twice a month. You don’t want to kill of the beneficil things in the soil by overusing hydrogen peroxide! 

  • To dilute, simply add 2-4 teaspoons per litre of water, or 2 tablespoons per gallon of water. 

  • For root rot, use 3-4 tablespoons per litre of water, or 1 tablespoon per cup of water. 

  • For other types of use, google the correct ratio. There are so many uses for this magic liquid, I couldn’t possibly mention all of the ratios here!

Important to note: when using stronger solutions, for roots or other things, be certain not to get it on the actual plant, because it can burn the leaves. 

Good luck, and let me know if you already use hydrogen peroxide, and if not, will you try it? 

PS. Hydrogen peroxide is one of the things on my list “Must-have items for every plant parent”, which you can read if you subscribe to my Patreon.

Fact vs Fiction: Do plants clean the air?

“Plants can purify the air we breathe! They remove harmful toxins!”

How many times have you heard this? Because I seriously hear it (and read it) all the time. You go to shop for plants, you’ll hear it, you talk to (self-proclaimed) plant influencers, you’ll hear it. Hell, books have been written about it. Most, or perhaps all, of this “knowledge” comes from one single study. But has anyone actually read the study that they keep referring to?

If you like this content and would like to support me, please follow me on Instagram for more plant photos and discussions!

So, let’s quickly dig into this study I mentioned above. The study was named the “NASA Clean Air Study” and researched what plants did to the air in a completely closed space (for example a space station). The most important thing to remember from that sentence is “closed space”. Their research and experiments found that some plants can reduce certain toxic particles, such as formaldehyde, in the air. But remember the two important words? Closed space. No ventilation, no windows, no doors. In other words, everything was under strict control. And the scientists also found that to accomplish this in a closed space, you would need at least one plant per 100 square feet (9.3 square meters). That quickly becomes a lot of plants for a space station or rocket! And this study is essentially what everyone has been referring to for years and years.

But in 2019, a new study was carried out by the Journal of Exposure Science & Environmental Epidemiology. Basically what the results of this study says is that any kind of ventilation will disrupt your so called closed space, hence the results of the NASA study can’t be replicated at home. What’s more, they also found that for you to feel any real effect in a normal home, you would need over 90 plants per square foot… Do the math, that’s literally impossible! Sure, some of us plant lovers do have a LOT of plants at home, even in small rooms and tiny apartments, but most of us also have windows and doors, and some kind of ventilation.

But that NASA study really did a number on a lot of people, including journalists, bloggers, influencers and even plant growers/producers. Sometimes I feel like these people must know that plants don’t clean the air that well, and that they’re just publishing their articles, blog posts and instagram stories for likes, clicks and sales.

Dogs will definitely steal more of your precious night time oxygen than any plant ever could!

Dogs will definitely steal more of your precious night time oxygen than any plant ever could!

There are so many myths and deceptions in the plant world. For example you’ll hear some people say they don’t want plants in their bedroom because the plants will steal your oxygen at night. This is simply not true. Think about it, would you not let your pet or child sleep in your bedroom either, out of the fear that they’ll steal your oxygen?! I don’t think so. And believe me, breathing creatures use up much more oxygen than plants do…

The final answer to this common question then, is both yes and no. It depends on the surroundings (closed and small, open and big, ventilation, etcetera), and even on the type of plants you have. But to think that putting a snake plant in your bedroom will make you immune against that cold that’s been going around or perhaps a peace lily in the living room, to remove the ground-level ozone, that’s just pure nonsense.

Further reading: A Popular Benefit of Houseplants Is a Myth (The Atlantic)


Plant hunting in the tropics

This article previously appeared in Boys with Plants Magazine, Issue #01. A few minor details have been updated/changed in this version. If you like this content and would like to support me, please follow me on Instagram for more plant photos and discussions!

I love tropical plants, the more intricate shapes and patterns the better. I live for Anthuriums, Philodendrons, Monsteras and Alocasias. And I’m in Brazil, a country that is home to many of my favorite plants. It’s funny though, I feel like it was much easier to find most of these plants in cold Scandinavia! Living in Sweden, I used to have almost 100 tropical plants in a very tiny apartment. If I could meet my younger self and tell him about that, he would probably laugh out loud. But it happened. And my love for plants only grew when I moved to the tropics. 

Having grown up in the countryside of Sweden, I have always praised the power of nature to calm me and root me in the place I live. My first real plant, a rather shy Monstera deliciosa, made me company while I hopped around between apartments in the crazy real-estate market that is Stockholm. Life took a spin after I met my husband and we started moving around the world. And the more I moved to a new city or a new country, the more I felt like I needed plants. Throughout the past years, I have had the chance to see a lot of amazing plants while jumping between hot and cold climate countries. 

In places like Brazil and Cambodia, I was impressed to see how easy plants grew. Philodendrons peeking out from the cracks in the asphalt, Alocasias growing in the running sewage water next to the streets and Ficus trees bigger than the buildings. But finding them in shops and growing them in your apartment was harder than you could ever imagine. Whenever we went back to Scandinavia however, I could see a growing trend of indoor tropical plants and they were readily available at every turn. 

In Sweden, just like in most places, the modern trend of having plants all over your house started for real a few years ago. This led to a quick surge in the variety of plants you could find in shops and nurseries around the country. Ficus elastica, Monstera deliciosa and Thaumatophyllum xanadu now grow in each and every clothing store in Stockholm. The same thing happened with the Danish capital. When I lived close to Copenhagen, I got a job at Plant KBH, a conceptual botanical store with eye pleasing visuals. I worked there for almost a year before moving to Panama, and during that time I realized that there really was no stopping the growing plant trend. 

Most of the tropical plants you’ll find in Scandinavia, and in Europe, are grown in labs and greenhouses in The Netherlands. The producers often don’t even know the correct latin names for the plants, and give them names such as ”Monstera monkey-mask”. What happens even more now is that they sell the same plant in different growth stages, and name them different things, so that novice collectors will get interested and buy all the varieties, only to ultimately be tricked into buying the same plant three times. Sometimes they’re hybrids too, and don’t even have scientific names. But that’s a story for another time. Let’s get back on track. The question is: how come there’s such a huge production of tropical plants in colder climates, all the way over in Europe? And why can’t I find shops that sell these plants in the tropics? 

There are dozens of studies on how plants reduce stress, make you happier and more productive. This is obviously very important for people all over the world, but even more so when you live in a cold, harsh and grey climate for most of the year. It’s also no secret that Scandinavians love sleek and minimal interior design. And what combines beautifully with great design? Why, green foliage of course! 

The demand for indoor plants with interesting and big foliage has become so big in Scandinavia, that you can find almost any tropical plant if you just look for it. Everyone wants more and more plants. Some apartments are so full with greenery that there’s almost no space for people. I guess we also love a challenge – growing plants which are not endemic to where we live. I believe Swedish plant lovers are even sort of famous for growing the most difficult of tropical plants in their tiny apartments. And the stranger the foliage, the more interesting it becomes.

Compare this to tropical countries, where as I mentioned earlier, many of these plants basically grow like weeds. Most of the population will become desensitized to their local flora, which makes it less unique and interesting to grow these plants indoors. For example, I’ve heard friends in Panama say “Why would I let plants take over my home, when they’re already all over the city?”. Another case in point is my own husband, who despises Swedish window sills, because they’re usually full of plants, which in turn means you can’t open the windows to let air in. Whereas in the tropics, apartments rarely have window sills at all. 

Philodendron mayoi grows all over the city, sometimes trees are completely covered in them. So I figured taking a little cutting won’t hurt!

Philodendron mayoi grows all over the city, sometimes trees are completely covered in them. So I figured taking a little cutting won’t hurt!

However, the design and minimal interior trend is growing around these parts as well. New cool plant spots are popping up in São Paulo all the time. And many of them are much more innovative than the ones in Scandinavia. They make their own plant stands and designed pots and plates in-house, while most Swedish and Danish shops are happy selling other people’s designs. (One can only hope Brasilia too will have some cool shops in the future, if not, I might open one myself!) 

In Brazil, and Panama, you will find really common plants, like Pothos (Epipremnum aureum), Mother-in-law’s tongue (Sansevieria) or regular orchids, all of them often in small kitchen table friendly sizes. In São Paulo, where one of the biggest plant producer markets in the world is located, you can often find bigger sizes. But the plants don’t travel much to other cities. For example, in Brasilia I have hardly ever seen a shop sell a regular Monstera deliciosa. And when they do have them, they’re really yellow and damaged. I’ve only seen a couple of Alocasias, and really tiny Philodendrons. When there’s not much of a demand, producers simply won’t grow them, and shops won’t sell them. Simple as that! You’ll find the really nice foliage plants only from collectors, or very small producers who might sell out before you even find them.

So far, I’ve found some of the plants I like in parks, or growing on trees next to the sidewalk, or in people’s backyards. When the plant is public property, it’s quite easy to get cuttings and when someone owns the plant, you can always offer to buy a piece and you’ll usually get one for free. I basically never leave home without my pruning shears (plant scissors) nowadays. Who knows what plant I’ll encounter on my way to the supermarket! 

And so, I get to leave my Scandi comfort zone of having things readily available. In South America, I have had to completely reinvent myself in terms of my plant love. The process of actively looking for cuttings in nature and getting these plants with my own two hands, that is what makes me feel rooted here.  

PS. I obviously don’t take cuttings if the plant is rare or endangered in any way. Please use common sense. If there’s only one plant of that type, it might not be a good idea to cut off a piece of it. Let it grow!

How to tell if your Alocasia roots are healthy

This is a short companion post to my previous Alocasia posts, “How to grow an Alocasia from a bulb” and “How to grow an Alocasia in water”.

Root rot is extremely common with Alocasias. Either you’ve overwatered your plant, or they came with rot already from the nursery / retailer. Not only will the rot kill your plant (sometimes it’s really damn fast), but the wet substrate will also attract fungus gnats. Those little pests will lay eggs, and their larvae will eat the healthy roots if there are any left. When the larvae eat roots, they also create an entry point into the plant for bacteria, parasites and viruses to enter super easy. Scary! I know…

There are several ways to help your Alocasia dry her wet feet, and you can find one of them in the water-related blog post mentioned above. But before you try any methods, check if your roots are actually rotten. You can do this either when you’re worried something might be wrong, or when you just want to have a little look, and maybe collect some bulbs for propagating later. Remove as much soil as possible without damaging the roots, and check if they’re mushy, wet, soggy. If they’re white and firm, they’re fine! Remove anything that’s mushy and repot it, or put it in water using the method in my previous blog post. Here’s a quick video example of what healthy roots look like:

And before you go, make sure to follow me on Instagram!

Plant Therapy and Social Distancing

Plant friends, we’re living in a new type of world. The coronavirus (I can still hear Cardi B screaming this everytime I say it or read it…) has changed everything, and maybe things won’t ever be the same again. Although, it hasn’t been able to change our love for plants has it? In these trying times, when many of us are staying home to avoid getting sick, or avoid spreading the virus, it’s easy to get bored and lonely. While we shouldn’t feel like we have to be productive just because we suddenly have all this free time on our hands, it’s great to have a few recommendations and ideas for when we do want to do something. When it comes to plants, there are thousands of things you can do to pass the time, and your plants will thank you for it in the long run.  Here are some suggestions:

Shower your plants
Many plants, especially the ones with tropical origins, love to get showers now and then. Just put on your bikini or speedo and hop in the shower with your plants! Use room temperature water and be sure to shower both sides of the leaves. This won’t just give your plants some extra shine and energy, but also it might rinse off some unwanted bugs. 

Airplants will attach to branches with tiny tiny roots, if they’re not too dry. You can also attach them with wire or a fine string.

Airplants will attach to branches with tiny tiny roots, if they’re not too dry. You can also attach them with wire or a fine string.

Install your airplants
I recently have been getting really into airplants (aka Tillandsias) and my latest little installation is a tall pot filled with fine sand. I’ve put two branches down into the sand, and on the branches I’ve secured some of my Tillandsias. You could also tie an airplant to a fine string and hang it by the window. Or create a little world for your plant in a big glass, with sand, stones and other natural things.  Just place the airplant on top and you’ll have a pretty little terrarium. Oh, and don’t forget to water them now and then! 

Give your plants new houses
This time of the year, especially in Europe and the US, is perfect for repotting the plants that might need it. You’ll know if the root system is huge, or if you’re sure the plant has been in the same soil for a year or two. Giving them fresh new healthy soil can give them a proper boost. 

Create new worlds
Speaking of terrariums, you could also get a larger glass container (a bowl or a cylindrical vase for example) and fill it up with pretty little plants. Use small rocks, sand, moss (if you can find any), branches, mini plants (or cuttings!) and stones. There really are no limits to what you can create! 

One example of a terrarium I made while working at Plant KBH in Copenhagen.

One example of a terrarium I made while working at Plant KBH in Copenhagen.

Study
There are definitely plants you’d like to know more about. Well now that you have time to research them, why not google some of them to see what you can find? Since I’m mostly into tropical plants with big green foliage, I often end up reading the extensive and great information provided by exoticrainforest.com. I don’t currently have any plant books here (I left them in a box in my dad’s garage in Sweden), but if I did, I would absolutely be reading them from cover to cover. 

Move it around
Did you also move around furniture in your room as a kid, and when you were done it felt like a whole new room with new things? Well, you can do the same with all of your plants. Just move them around, swap places, reorganize they way they’re placed around your home, and suddenly you’ll have a completely new plant collection in a new cool environment! When you’re done moving things around, don’t forget to clean up as well. 

Propagate your collection
While you’re showering and inspecting your plants, you might notice that some of them could be trimmed down. Now is a great moment to cut some pieces and propagate them in water. Hopefully this worldwide quarantine won’t last too long, but most likely you’ll have roots before this whole situation is over. And then you can give the cuttings away to people who might not have as many plants! Just one thing, don’t forget to change the water now and then.

Cutting off some leaves can do a plant good sometimes, and taking cuttings like this one will encourage new growth on the mother plant.

Cutting off some leaves can do a plant good sometimes, and taking cuttings like this one will encourage new growth on the mother plant.

Meditate
While fixing with your plants can be a sort of meditation on its own, it’s always good to take a step back and relax. Take a moment to calmly inspect your plants, is there anything new and fun happening? Really pay attention to the changes they’ve gone through. Think about what they mean, why is a plant dying, why is a leaf yellow, why is one growing more than the other. Then sit down and relax, breathe and enjoy the space you’ve created for yourself and your greenery. I can recommend the app Headspace, for some good breathing techniques and calming meditation. They have a free package right now for anyone who is feeling stressed or worried about the pandemic.

Shoot shoot shoot
When you’ve finished all of this, you could take out your camera (or phone) and shoot all your fresh and fancy plants! Post the pictures on insta or maybe just keep them for later growth comparisons. 

Are you doing any of these things to pass the time during the quarantine/social distancing? Do you have any other tips for what to do with your plants while spending all this time at home? Let me know in the comments below! 

PS. Make sure to follow me on Instagram! And if you appreciate this content, please consider subscribing to my Patreon, where you will also get access to lots of exclusive content, such as the 2600 word blog post “Everything you need to know about Alocasia”. Thanks!

Panama Plant Guide

plant-family-portrait.jpg

It’s been two months since we left Panama, but I wanted to write this last post, about plants in Panama. Mostly to help anyone there who wants to get more plants. Hope you’ll find what you’re looking for! Before we dig into this, make sure to follow me on Instagram!

Being a plant lover in Panama City is both a blessing and a curse. Plants grow everywhere. The biggest Epipremnum aureums I’ve ever seen, Monstera adansonii growing on at least half of the tree trunks in the city, every office building has either a vertical garden full of Philodendrons and other hanging/climbing plants, or a tidy garden next to the entrance with Caladiums, Syngoniums and Calatheas. All of these plants thrive here. In fact, most of them are from here, or at least from this region of the world. And Panama is in fact the country with the most types of Monsteras. But actually finding and buying them is a very different situation…

The only Monstera I’ve seen in plant shops around Panama City is the regular green Monstera deliciosa (aka Swiss Cheese plant). To get a variegated Monstera, you’ll have to venture with a car to El Valle de Anton and ask at any of the nurseries in the valley. The car ride is about 2.5 hours outside of rush hour. And remember to bring cash, most nurseries don’t accept card. Once there, you’ll find several types of Alocasia, Calathea, Caladium, Syngonium, Philodendron, Thaumatophyllum, different cacti, palms and much more. Whatever size of plant you’re looking for, you’ll find it here, especially bigger ones. You can get a variegated Alocasia macrorrhiza that stands at 1.2-1.5m high for only $10!

My rather small plant haul the first time I went there specifically for plants:

  • Monstera deliciosa variegata (Thai constellation) = One huge leaf, $25

  • Thaumatophyllum ‘xanadu’, quite big = $25

  • Alocasia macrorrhiza, about 50cm tall = $4

  • Philodendron verrucosum, 3 medium leaves = $3

monstera-variegata.jpg

Most plants in Panama (at least outside of the city) are pretty cheap. Especially compared to what you’ll get in Europe for the same money. If you’re on a really low budget, you could also get cuttings all over the country for free. Like I mentioned, Monstera adansonii and similar Monsteras grow everywhere, so that one won’t be hard to get. Same with Philodendron hederaceum. You can also find a variety of Tillandsias (air plants) hanging from many trees. If you go out of the city, you’ll find many more tropical plants growing at the side of the road, easy to pick up and take home.

There are of course also a couple of plant shops around Panama City:

  • El Tigre Verde, San Francisco
    I never bought anything here, but I’m sure you could find a couple of plants from time to time. When I went, they had mostly orchids and philodendrons (most of which had mealybugs). But they have a gorgeous plant wall outside of the entrance, worth going to have a look at (and take a picture for Instagram perhaps?!).

  • Hiedra y Bambu, San Francisco
    This place has more variety than most, lots of small cacti and many bigger plants. However most of it is very pricy. However I did find a huge and gorgeous Philodendron gloriosum for only $25!

  • Vivero, Parque Metropolitano
    To be honest, I never actually entered this place. But I did pass it a couple of times and they do have lots and lots of plants, in several sizes. Most are medium to big. For example I saw the beautiful Philodendron squamiferum here, the only place I’ve ever seen it in Panama.

  • Riba Smith, Multiplaza & Bella Vista
    This is one of the supermarket chains in Panama, and the one with the best plant selection. It’s not that cheap, but you can find some nice looking and rare plants from time to time. Alocasia cuprea for example. The one in Multiplaza has a bit more, but the one in Bella vista always has Calatheas, Monsteras and some Philodendrons.


The curious life of my favorite Begonia

Before we dig into learning more about this fantastic plant, make sure to follow me on Instagram! Thanks!

Among all of the 1400+ varieties of begonias, one always stood out to me. It’s commonly known as Angel Wing Begonia, or sometimes as Begonia lucerna, but it’s actually a hybrid whose full name is Begonia ‘Corallina de Lucerna’. And according to my readings, this hybrid came to life when the mysterious Eva Kenworthy Gray (I like to think she looked like Eva Green in Penny Dreadful) successfully crossed two varieties in 1926. A tiny parentheses: Eva loved begonias so much she wrote a book about them, and obviously she decided to call the book “Begonias”!

The two types she crossed were Begonia coccinea ‘lucerna’, a sturdier, simpler and clear green plant and Begonia aconitifolia, a more fragile and thin maple-like begonia with a silvery metallic pattern. The hybrid she created didn’t look exactly like the popular Angel Wing Begonia of today, but her creation seems to have been the start of this particular genre of Begonias – silvery dotted leaves that when paired next to each other look like the back of an angel.

begonia-closeup.jpg

My first encounter with Begonia ‘Corallina de Lucerna’ (which I shall call Corallina from here on) was in November of 2016. I was living in Stockholm at the time. I was just casually checking Facebook, and I stumbled upon a new post in a plant group I was a part of. An older lady in another city wanted to sell a couple of tiny cuttings from her begonia. There was a picture of two bare stem cuttings, and she just called the plant “Angel Wing Begonia”. Without knowing what the plant actually would look like, I asked her if I could buy them. She really didn’t want any money for them, just for me to pay the shipping (about one dollar). It was a done deal!

decembercutting.jpg

One of the two cuttings didn’t survive, the roots were too weak. But the other one grew up so fast, that within a couple of months I had a long stem with several leaves. And six months later, there was a new stem coming up from the soil next to the first one. As soon as it had grown a bit, I decided to cut off the first stem to propagate the plant and get even more begonia magic in my home. I repeated this a couple of times and soon I had two pretty big plants. A few months later, I brought them to a new apartment and a new city (Malmö). Then I decided to combine the two into one large pot, and voila, I had a big begonia bush in my living room!

triptyk.jpg

The Corallina bush grew bigger and bigger, growing more branches and new stems than I could count. In one year it had gotten so big that I felt I had to cut it down at some point. But before I did so, we got the news that Vini had gotten a new job in Panama City, and so I had to sell all my plants and move on. But I couldn’t let go of my precious Corallina, could I? So before selling it, I took a couple of cuttings and gave them to friends and family. The plant had to live on! I also saved one long stem for myself. I divided the stem in four parts, cut off all the leaves, and brought the stem cuttings with me. They were without water, without roots and without soil. Just four tiny pieces of stem, all with one node each.

It took longer than I thought it would, but after about 5 weeks, roots sprouted and I recently planted my tiny cuttings. Each of them have a couple of leaves now, and pretty soon they’ll have more. The Corallina can be a slow starter, but when it’s fully charged, it doesn’t stop, ever. It grows and grows and grows. And that’s it folks, that’s the curious life of my Corallina. Hopefully it’ll get big and beautiful here in Panama soon. I’d like to think that Eva Kenworthy Gray would have been proud of how far my begonia has travelled.

panamabegonia.jpg

So how do you take care of Corallina?
Well, it’s really one of the easiest plants you’ll ever meet. Most cane begonias are the same, so just follow my advice below and you’ll be fine.

CARE TIPS

Light: Lots of bright light, even direct sun unless it’s very strong. This plant doesn’t do well in darker spots of the room. My plant even thrived in direct sunlight all year around, but I’ve heard from others that their plants couldn’t handle direct sun all day in the summer.

Potting material: I usually use a mix of normal potting soil and perlite. You could throw a couple pieces of bark in there too if you like, but it’s really not necessary for the plant to thrive. Just see to it that it’s somewhat easy draining, because otherwise the roots may rot. I like to use terracotta pots for this begonia, since it helps the plant breathe if you accidentally give it too much water.

Water: Corallina drinks lots, especially in the summer. But if overwatering occurs, new leaves usually grow deformed and ugly, so try to let the top 2-3 centimeters of the soil dry out before watering. If you’re unsure if your plant is in need of water, check the leaves. Are the droopy and hanging, or are they bouncy and sturdy? If they’re droopy and sloppy, they are in desperate need of water!

Fertilizer: You can easily feed the Corallina once every other week. Most places say every week, but I always feed my plants a little bit less than what other people recommend, because then you know you won’t ever give them too much nutrition.

Propagation: You’ll want to cut off the top piece of the stem, with 2-3 leaves on it. Remove the bottom 1-2 leaves (or all of them if you like). Just make sure that there is 1 or 2 nodes on the piece of stem, where the new stem will start growing from. Either put it directly in soil (risk of rot, in my opinion) or put it in water and wait for roots to form. It will take around a month or a bit longer, and then you can plant it. Wait for the cutting to have more than just one tiny root before you plant it.

Brown/dry leaves: The environment could be too dry. Are you keeping the plant close to a heater? Try moving it to another spot. Are you overwatering? Try letting the soil dry up for longer between waterings.

Unnatural silvery/see-through spots: Could be bugs, like thrips. Check the back of the leaf thoroughly to see if there are any crawlies creeping around. See-through spots could also be lack of nutrition, or simply a sunburn.

Good luck! And if you have any questions, you can always comment below. Last but not least, here are some pictures in a chronological order, with time stamp and brief explanations (best viewed on a computer), from the life and times of my Corallina!

How to grow an Alocasia from a bulb

Alocasia zebrina

A while back I wrote about how to make your Alocasia happy in water. Now it’s time to talk about the bulbs! Before we start planting pups however, make sure to follow me on Instagram! Thanks!

When you’re repotting or transferring your Alocasia to water, you might find these round-shaped bulbs in the soil. Sometimes they’re attached to the roots of the plant, sometimes they’re just rolling around in the soil doing their thing (which is sleeping or being dead, basically). If they’re not attached to anything, they might not give you any new sprouts, but it’s worth a try. Don’t worry about removing the attached ones from the roots though, that won’t hurt them nor the plant. Just do it carefully and try to remove the bulb from the roots, rather than the bulb with roots from the plant. If the bulb has one or two roots of its own, that’s great too!

When you’ve got them in your hand, squeeze them gently and check so that they’re still quite hard. If they’re moist/soft, they’re probably too far gone and you should just throw them away. This happens when there’s been too much water in the soil for a long time and root/bulb rot is bound to happen.

Alocasia bulb size

Having removed the bulb(s), you can plant them directly into some well draining soil (preferably a little soil mixed with perlite and sand, or other loose and dry material). This is for the bulb not to rot when you water it, you’ll just have to remember to water it quite frequently. I put a glass cover over them, so that it created a kind of tiny greenhouse. This way I didn’t have to water them that often, and when I did, I just sprayed the soil and the bulbs with water until I saw the water going down below the surface. Maybe once a week or so, I removed the glass roof for an hour, to let the bulbs breath a little.

Just an inch below the soil mixture, I put tiny rocks (you may also use soil with little to no nutrition, like cactus mix). The bulbs won’t need that much soil in the beginning, the point is just for them to create roots, and then later on to start growing their first stem/leaf. It’ll take a while, so be patient. I’d say give it a month, and if it doesn’t start growing in that time, it might not happen at all. Mine took about 2-3 weeks to start growing, and I planted them in April/May. Less than one year later and some of my Alocasia babies have created new bulbs of their own. Amazing how nature works isn’t it!

Planted growing bulbs

I got some questions on Instagram about this subject: 

Where do I find/buy Alocasia bulbs?
I’ve never seen them for sale. Might be that in some countries you can buy them (maybe online?). But I haven’t seen them and I’m not sure I’d recommend buying them either, because you never know the quality of them and if you pay a lot, it’s just wasted money. Just get them from another Alocasia, like I’ve explained above. If you don’t have one, maybe a friend has one and is repotting it soon? Be sure to hang around and grab a bulb or two! 

What is the best humidity for the bulb? 
Speaking from experience, I’ve noticed they rot easily (same goes for the roots/bases of the actual grown plants). Therefore they do need quick and easy draining soil (or, if it’s a full plant already, just stick it in water!). When it comes to humidity in the air, you may spray the leaves now and then. I don’t do that anymore, as I never noticed a difference in plant health when doing it. But it might help keeping spider mites away. For the bulbs to not dry out, keep them in a tiny greenhouse, a pot covered with a drinking glass or something else that you can easily pull off at home. As soon as the bulb has started sprouting however, you’ll need to take the cover off, or keep it off for much longer each time you remove it. Otherwise, again, it will rot.

Are there any other ways of creating new Alocasias? 
Except for getting bulbs from the soil of other Alocasias, you can also pollinate the plants when they have flowers and hope for the best. But I’ve never tried this method myself, so I can’t say much about it. Bulbs are definitely easier, faster and usually more frequent than flowers. Do NOT under ANY circumstances try to take cuttings from Alocasias, because it will never ever work. They will only die.

CHECKLIST

  • Make sure the bulb is still hard

  • Place the bulb with the root-part downwards

  • Use quick draining soil

  • Use a plastic or glass cover

  • Never let it dry out 100%

  • Plenty of light

PS. Remember to have a look at my story highlight on my Instagram. There you can see the evolution and growth of these bulbs over time! 

If you have any further questions, let me know in the comments below or in a direct message on Instagram!

Alocasia on the table

How to grow an Alocasia in water

A lot of people have asked about my Alocasia zebrina plants and how I’ve made them thrive in my home. First of all, let’s go through the zebrinas I have. There's a bigger one in water, that I rescued from very certain rotting death. It was gifted to me earlier this year. I also have several tiny babies, that I grew from the bulbs that I took from the big one (read here about bulbs specifically, and read here if you’re not sure if your roots are rotten). 

Before we dig into this, make sure to follow me on Instagram! Thanks!

Now, let’s start with the big Alocasia zebrina. When I got it, the plant had two large beautiful but slightly sad leaves and the soil was super wet. No matter how long I waited, or how much wet soil I removed, it just wouldn’t dry. I figured that the type of soil must be wrong for the plant, and removed as much as I could, and repotted it. 

A big parenthesis: you might like to know that the soil that was in the pot was what came with the plant from the grower. I think it was some kind of coconut coir (or a similar medium). This is what most Alocasias are potted in, at least if they come from The Netherlands. I tend not to use coconut coir, as I think it keeps the water for too long. And once it’s gotten too wet, it’s quite difficult to get it back on a good level again. It does work wonders for some plants though. Actually my biggest Alocasia amazonica thrives in it. But i'ts potted with coconut coir that I’ve put there myself, and if I remember correctly I mixed it with something else (and I water it quite sparsely whenever it gets water). 

Back to the repotting of mama Alocasia: Getting new soil wasn’t really helping it either. I waited a month or so, but the leaves were looking more and more yellow each day. My last option was to remove all the soil and stick the plant in water. I also took the opportunity to remove all rotten and damaged roots, and take out the bulbs that were still intact. Several bulbs were soft and rotten already.

It only took about a week in water for the plant to regain some of it’s strength. It quickly started to sprout a new leaf. As soon as it did, I cut off the remaining yellowed leaves and I decided to move the plant into a new glass jar. It looked like a beautiful alien octopus...

Since that first leaf grew to its full stage, the plant has been spitting out a new leaf every 3 weeks, each one bigger than the last. The plant now has so many roots in that glass jar (see the picture at the end of this post), and it’s getting increasingly difficult to photograph the whole plant in one photo! I’m happy this method worked so well. For all of you Alocasia haters out there, this is what you need to do for your plant to be happy. I promise it will work wonders! 

I also received questions on Instagram about this plant and method, here are some answers: 

Where on the stem do I cut it off, and can I take cuttings? 
Do NOT cut off the stem of your Alocasia. If you want to save the plant and put it in water, you need to remove all the soil and put the whole root system in water. Do NOT try to take cuttings from an Alocasia, it will never work. The only way to produce new plants is to get bulbs from the soil, or if a bulb starts growing on its own and a new plant pops up from the soil. You might also 

Do you fertilize the water? 
No. I’ve never tried adding anything, but I guess you could leave it in minimally fertilized water for a couple of hours or a day, and then change the water? I’m not sure, but I wouldn’t leave it in fertilized water for a long time, it might be too much of a shock for the plant and the water roots. 

What about the size of the container?
Don’t worry too much about this if your plant is in water. I would just find a fitting vase/jar that gives the plant enough support around the sides. It needs to be quite tall (I might try to find a new one for mine soon) and not too wide. 

How do you keep the corm and the roots from rotting in water?
It simply does not rot in water! Alocasias tend to grow in moist and wet places, for example in the rainforest climate of Brazil. So if you have a true Alocasia, it should be able to handle the wet conditions. However, as I’ve mentioned above, they tend to rot fast and easy in certain mediums, such as coconut coir or very dense potting soil. These roots need oxygen, which they do get even when they’re in water. They don’t get enough of it in dense or very wet soil though. That’s why I recommend putting it in water if you’re having trouble keeping it alive in any other medium. 

Am I eventually going to put this plant back in soil? 
I don’t know. My Alocasia zebrina seems to thrive and be really happy as it is right now. I might change my mind about it in spring. But for now, and during winter, I’m definitely keeping it in water. And you decide for yourself what you’d like to do with yours. You might just want to use this method to save it from certain death and then when it’s recuperated put it back in soil. That’s fine!   

Is Alocasia zebrina toxic to pets? 
Just like a lot of other tropical plants, Alocasias are considered toxic to cats and dogs. If you have a pet, you might consider putting your Alocasia in a place where your pet can’t reach it. Or just don’t get an Alocasia. 

Checklist

  • Make sure your plant is actually an Alocasia of some sort

  • Remove as much soil as possible, and all rotten roots too

  • No direct sunlight, but give it plenty of indirect light

  • Change the water every 7-10 days

  • Sing Drake to get it to fall asleep every night (kidding)

  • You’ll have a happy Alocasia in no time!

If you have any further questions, let me know in the comments below or in a direct message on Instagram!

PS. It costs money to keep this website running. Any support you can help out with, however big or small, is greatly appreciated. I now have a Patreon. You can also send any amount you feel like here: paypal.me/upleafting Thank you!

Look at those roots! Insane huh?!

Look at those roots! Insane huh?!